Quake 2 and Emulation
Wednesday, 1st August 2007
The current design of the Quake project is that there are a bunch of classes in the Data namespace that are used to decode Quake's structures in a fairly brain-dead manner. To do anything useful with it you need to build up your own structures suitable for the way you intend on rendering the level.
The problem comes in when you try to load resources from different versions of Quake. Quake 1 and Quake 2 have quite a few differences. One major one is that every BSP level in Quake contains its own mip textures. You can call a method in the BSP class which returns sane texture coordinates as it can inspect the texture dimensions inside itself. Quake 2 stores all of the textures externally in .wal resources - the BSP class can no longer calculate texture coordinates as it can't work out how large the textures are as it can't see outside itself.
I guess the only sane way to work this out is to hide the native types from the end user and wrap everything up, but I've never liked this much as you might neglect to wrap up something that someone else would find very important, or you do something that is unsuitable for the way they really wanted to work.
Anyhow. I've hacked around the BSP loader to within an inch of its life and it seems to be (sort of) loading Quake 2 levels for brute-force rendering. Quake 2 boasts truecolour lightmaps, improving the image quality quite significantly!
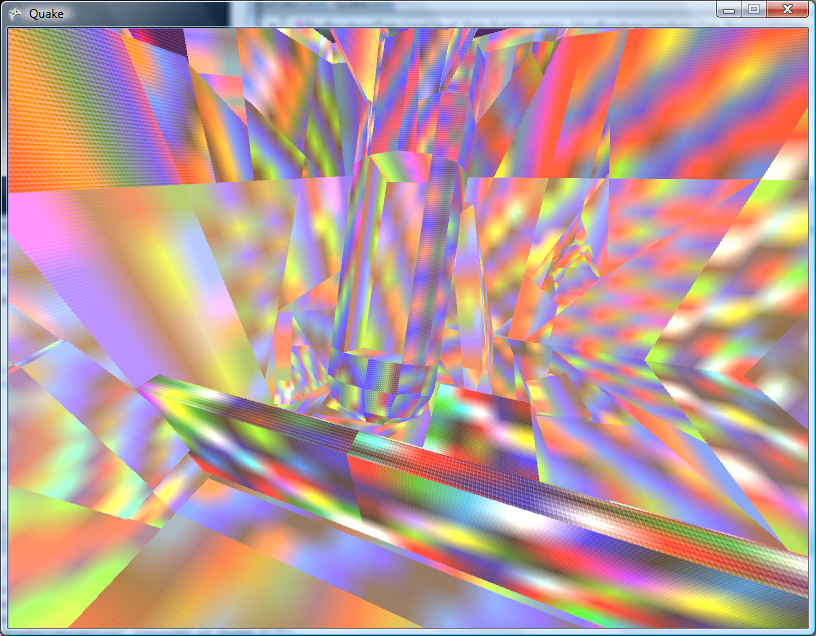
The truecolour lightmaps show off the Strogg disco lighting to its best effect. One of the problems with the Quake II BSP file format is that the indexing of lumps inside the file has changed. Not good.
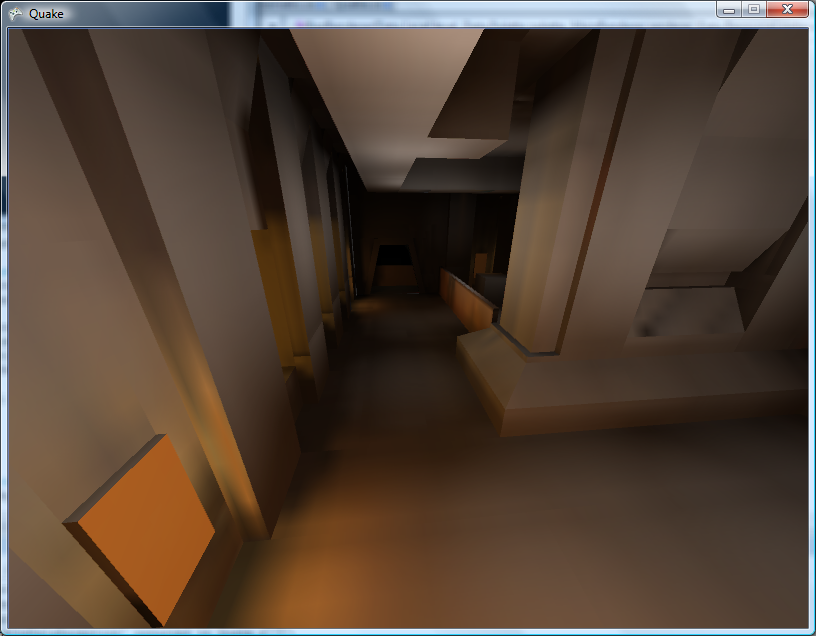
That's a bit better.  Quake II's lightmaps tend to stick to the red/brown/yellow end of the spectrum, but that is a truecolour set of lightmaps in action!
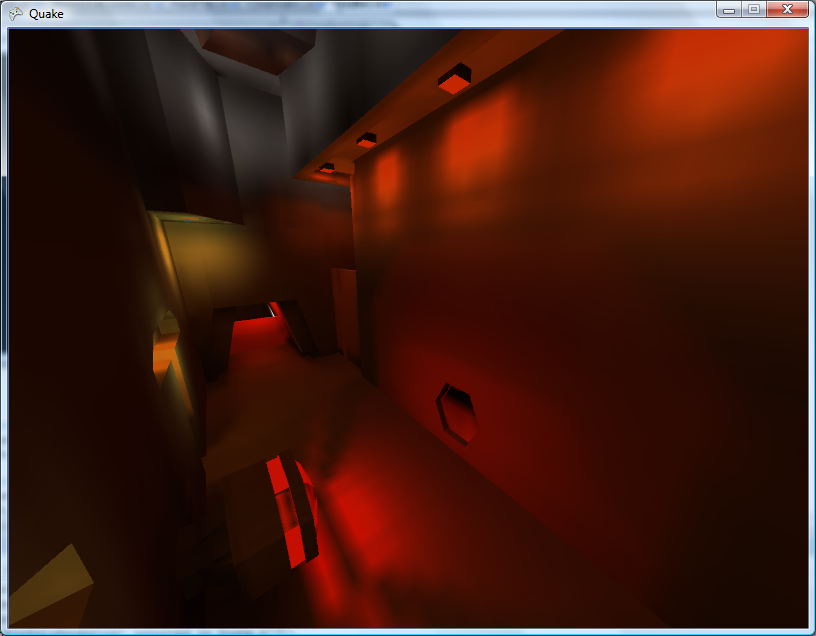
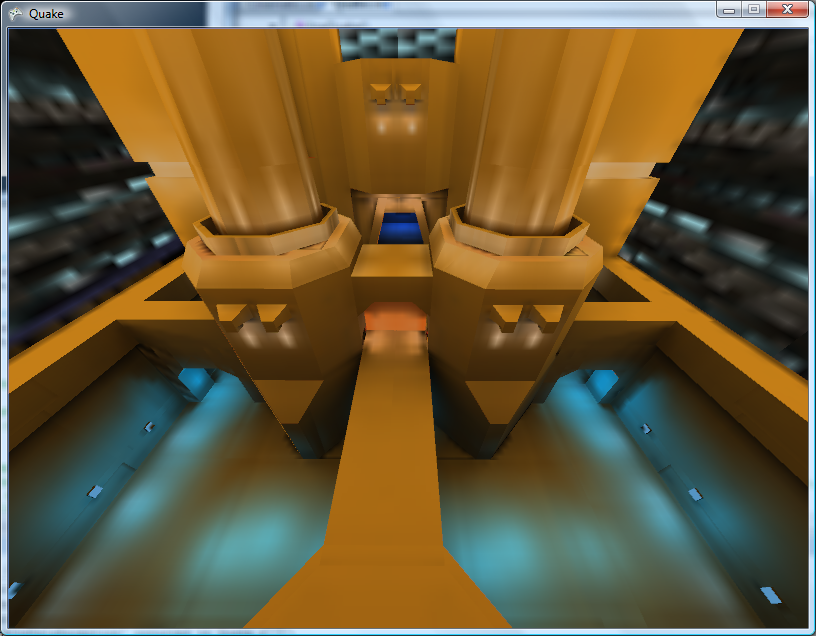
The lightmaps tend to look a bit grubby where they don't line up between faces. Some trick to join all lightmaps for a plane together into a single texture should do the trick, and reduce the overhead of having to load thousands of tiny textures (which I'm guessing have to be scaled up to a power-of-two). I'll have to look into it.
On to .wal (wall texture) loading - and I can't find a palette anywhere inside the Quake II pack files. I did find a .act (Photoshop palette) that claimed to be for Quake II, but it doesn't quite seem to match. It's probably made up of the right colours, but not in the right order.
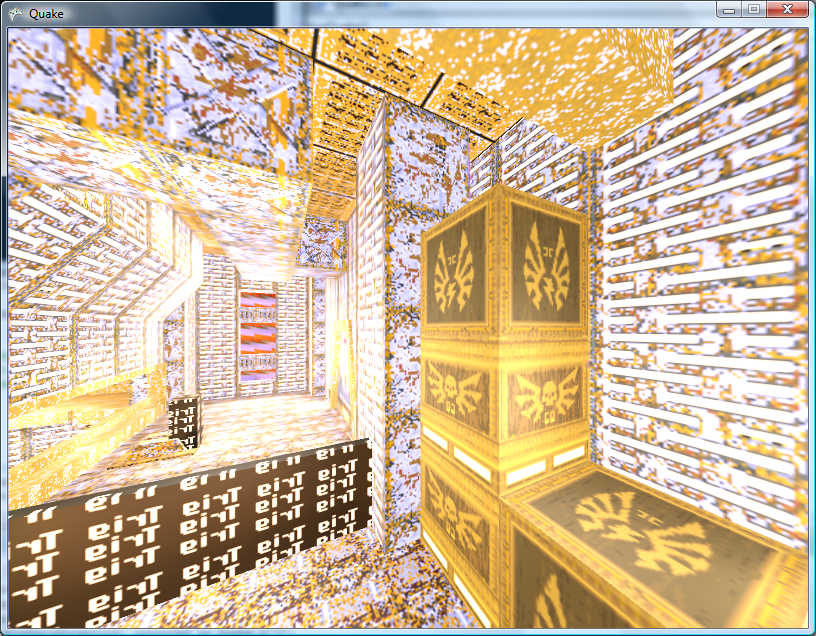
Fortunately I have some PAK files with replacement JPEG textures inside them and can load those instead for the moment.
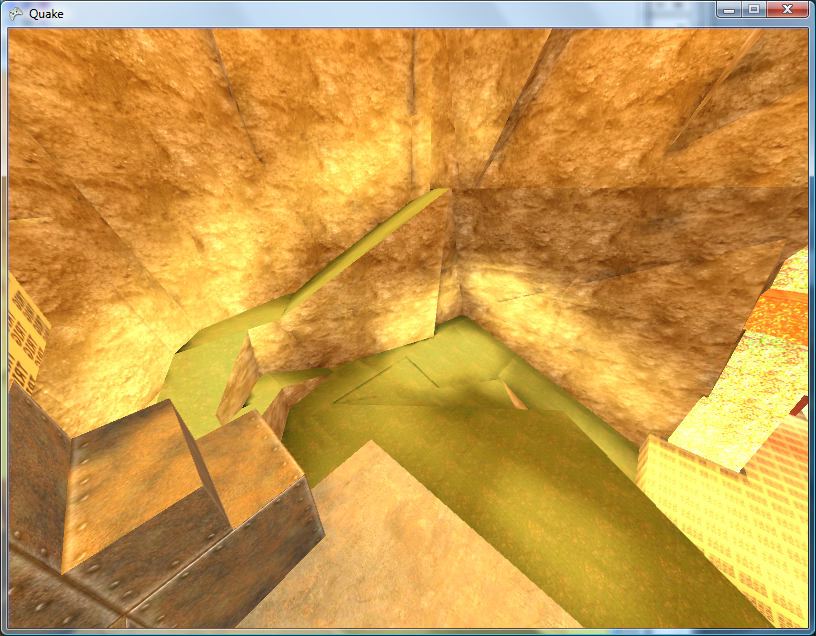
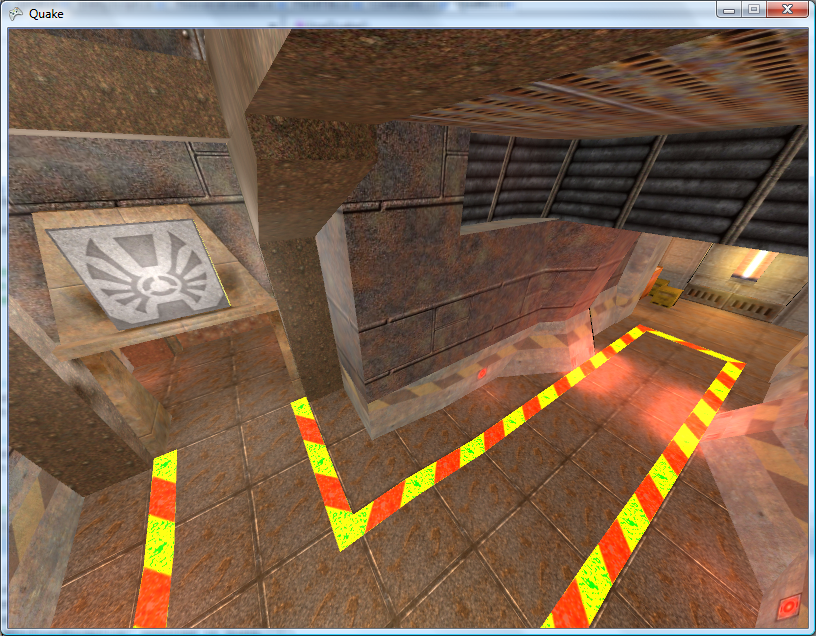
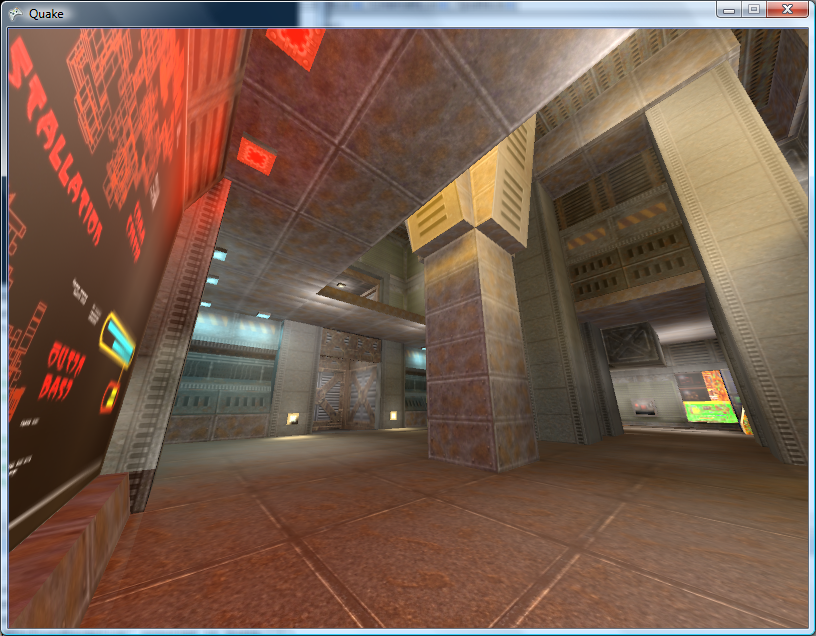
The brightness looks strange due to the bad way I apply the lightmaps - some kludgy forced two-pass affair with alpha blending modes set to something that sort of adds the two textures together in a not-very-convincing manner.
Can anyone recommend a good introduction to shaders for XNA? I'm not really trying to do anything that exciting.
This is a really bad and vague overview of the emulation technique I use in Cogwheel, so I apologise in advance. Emulation itself is very simple when done in the following manner - all you really need is a half-decent knowledge of how the computer you're emulating works at the assembly level. The following is rather Z80-specific.
At the heart of the system is its CPU. This device reads instructions from memory and depending on the value it reads it performs a variety of different actions. It has a small amount of memory inside itself which it uses to store its registers, variables used during execution. For example, the PC register is used as a pointer to the next instruction to fetch and execute from memory, and the SP register points at the top of the stack.
It can interact with the rest of the system in three main ways:
- Read/Write Memory
- Input/Output Hardware
- Interrupt Request
I assume you're familiar with memory. The hardware I refer to are peripheral devices such as video display processors, keypads, sound generators and so on. Data is written to and read from these devices on request. What the hardware device does with that data is up to it. I'll ignore interrupt requests for the moment.
The CPU at an electronic level communicates with memory and hardware using two buses and a handful of control pins. The two buses are the address bus and data bus. The address bus is read-only (when viewed from outside the CPU) and is used to specify a memory address or a hardware port number. It is 16 bits wide, meaning that 64KB memory can be addressed. Due to the design, only the lower 8-bits are normally used for hardware addressing, giving you up to 256 different hardware devices.
The data bus is 8-bits wide (making the Z80 an "8-bit" CPU). It can be read from or written to, depending on the current instruction.
The exact function of these buses - whether you're addressing memory or a hardware device, or whether you're reading or writing - is relayed to the external hardware via some control pins on the CPU itself. The emulator author doesn't really need to emulate these. Rather, we can do something like this:
class CpuEmulator {

	public virtual void WriteMemory(ushort address, byte value) {
		// Write to memory.
	}

	public virtual byte ReadMemory(ushort address) {
		// Read from memory.
		return 0x00;
	}

	public virtual void WriteHardware(ushort address, byte value) {
		// Write to hardware.
	}

	public virtual byte ReadHardware(ushort address) {
		// Read from hardware.
		return 0x00;
	}

}
A computer with a fixed 64KB RAM, keyboard on hardware port 0 and console (for text output) on port 1 might look like this:
class SomeBadComputer : CpuEmulator {

	private byte[] AllMemory = new byte[64 * 1024];

	public override void WriteMemory(ushort address, byte value) {
		AllMemory[address] = value;
	}

	public override byte ReadMemory(ushort address) {
		return AllMemory[address];
	}

	public override void WriteHardware(ushort address, byte value) {
		switch (address & 0xFF) {
			case 1:
				Console.Write((char)value);
				break;
		}
	}

	public override byte ReadHardware(ushort address) {
		switch (address & 0xFF) {
			case 0:
				return (byte)Console.ReadKey();
			default:
				return 0x00;
		}
	}

}
This is all very well, but how does the CPU actually do anything worthwhile?
It needs to read instructions from memory, decode them, and act on them. Suppose our CPU had two registers - 16-bit PC (program counter) and 8-bit A (accumulator) and this instruction set:
00nn   : Load 'nn' into accumulator.
01nn   : Output accumulator to port N.
02nn   : Input to accumulator from port N.
03nnnn : Read from memory address nnnn to accumulator.
04nnnn : Write accumulator to memory address nnnn.
05nnnn : Jump to address nnnn.
Extending the above CpuEmulator class, we could get something like this:
partial class CpuEmulator {

	public ushort RegPC = 0;
	public byte RegA = 0;

	private int CyclesPending = 0;

	public void FetchExecute() {
		switch (ReadMemory(RegPC++)) {
			case 0x00:
				RegA = ReadMemory(RegPC++);
				CyclesPending += 8;
				break;
			case 0x01:
				WriteHardware(ReadMemory(RegPC++), RegA);
				CyclesPending += 8;
				break;
			case 0x02:
				RegA = ReadHardware(ReadMemory(RegPC++));
				CyclesPending += 16;
				break;
			case 0x03:
				RegA = ReadMemory((ushort)(ReadMemory(RegPC++) + ReadMemory(RegPC++) * 256));
				CyclesPending += 16;
				break;
			case 0x04:
				WriteMemory((ushort)(ReadMemory(RegPC++) + ReadMemory(RegPC++) * 256), RegA);
				CyclesPending += 24;
				break;
			case 0x05:
				RegPC = (ushort)(ReadMemory(RegPC++) + ReadMemory(RegPC++) * 256);
				CyclesPending += 24;
				break;
			default:
				// NOP
				CyclesPending += 4;
				break;
		}
	}

}
The CyclesPending variable is used for timing. Instructions take a variable length of time to run (depending on complexity, length of opcode, whether it needs to access memory and so on). This time is typically measured in the number of clock cycles taken for the CPU to execute the instruction.
Using the above CyclesPending += x style one can write a function that will execute a particular number of cycles:
partial class CpuEmulator {

	public void Tick(int cycles) {
		CyclesPending -= cycles;
		while (CyclesPending < 0) FetchExecute();
	}

}
For some truly terrifying code, an oldish version of Cogwheel's instruction decoding switch block. That code has been automatically generated from a text file, I didn't hand-type it all.
Um... that's pretty much all there is. The rest is reading datasheets! Your CPU would need to execute most (if not all) instructions correctly, updating its internal state (and registers) as the hardware would. The non-CPU hardware (video processor, sound processor, controllers and so on) would also need to conform to data reads and writes correctly.
As far as timing goes, various bits of hardware need to run at their own pace. One scanline (of the video processor) is a good value for the Master System. Cogwheel provides this method to run the emulator for a single frame:
public void RunFrame() {
	this.VDP.RunFramePending = false;
	while (!this.VDP.RunFramePending) {
		this.VDP.RasteriseLine();
		this.FetchExecute(228);
	}
}
In the Master System's case, one scanline is displayed every 228 clock cycles. Some programs update the VDP on every scanline (eg changing the background horizontal scroll offset to skew the image in a driving game).
The above is embarrassingly vague, so if anyone is interested enough to want clarification on anything I'd be happy to give it.
QTEST
Tuesday, 31st July 2007
Looks nice, I could never figure out Quakes lightmaps.
The unofficial Quake specs are a bit confusing on this matter. To get the size of the texture, find the bounding rectangle for the face (using the horizontal and vertical vectors to convert the 3D vertices to 2D in the same way as it's done for the texture coordinates). Then divide by 16 and add one, like this:
Width  = (Ceiling(Max.X / 16) - Floor(Min.X / 16)) + 1
Height = (Ceiling(Max.Y / 16) - Floor(Min.Y / 16)) + 1
It'd certainly work, but it'd probably look a bit odd (mixing and matching, that is - emulating the appearance of the software renderer on its own is very cool).
Quake II appears to contain a lump that maps 16-bit colour values to values in the palette. I don't know what that was used for, but you could probably use something similar to convert the truecolour textures to 8-bit textures.
The rest of this journal post goes off on a bit of a historical tangent.
Before Quake was released, ID released a deathmatch test program, QTEST. This featured the basic engine, three deathmatch levels and not a whole lot else.
However, the PAK files contained some rather interesting files, including a variety of models - some of which were later dropped from Quake entirely!
The model version is type 3, and I've made a guess at the differences between type 3 and type 6 (6 is the version of the models in retail Quake). Type 6 has 8 more bytes after the frame count in the model header. I skip the "sync type" and "flags" fields, as I don't know what these do anyway.  Type 3 files don't have a 16 byte frame name, either (between the frame bounding box information and vertices in type 6).


The most impressive extra model is progs/dragon.mdl. It appears in this early screenshot:
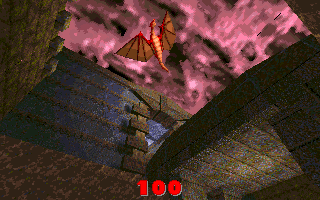
One character which changed design considerably was progs/shalrath.mdl.

Appearing in registered Quake, it became the following (QPed seems to mangle the palette, sorry):

The charmingly-named progs/vomitus.mdl is likewise untextured:
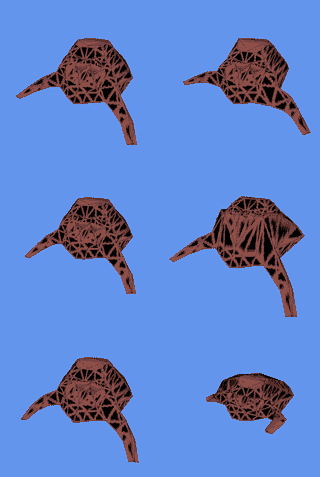
The frame data appears to be corrupted here, so I don't think my model loader is working properly. However, you can still get the rough idea of what progs/serpent.mdl might have looked like:

The fish model is quite different, but like the above its last few frames appear corrupted.
A number of textures changed in the final release. Some model textures, such as the grenade and nail textures, were originally much larger.
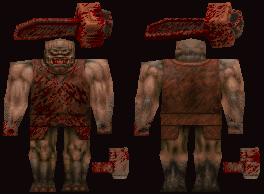
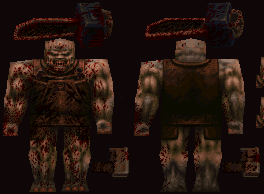
The Ogre before and after his makeover
The original 'gib' textures, eventually unidentifiable meat, were also toned down quite a lot from the rather more graphic ones in the QTEST PAKs.
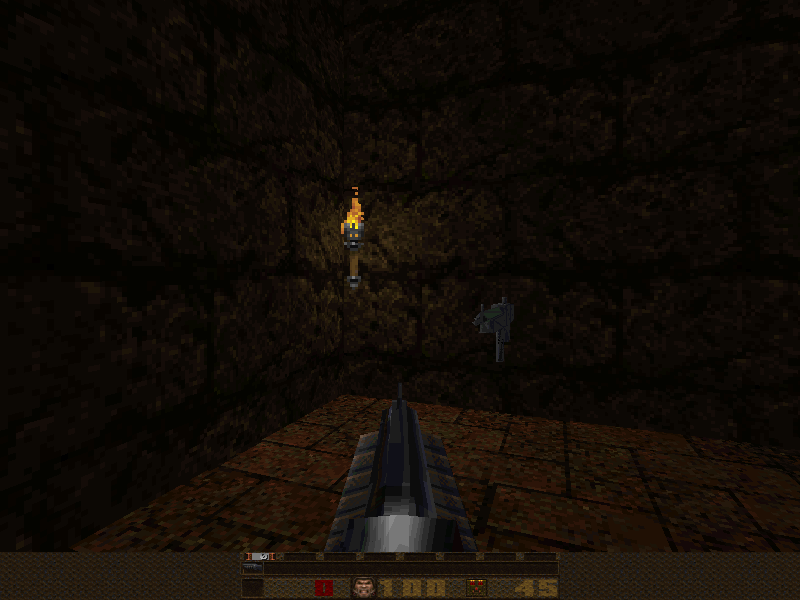
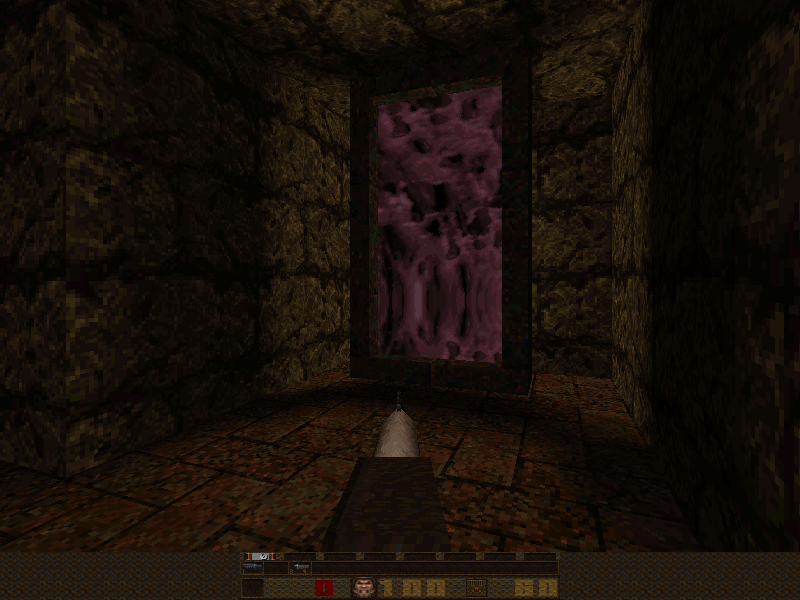
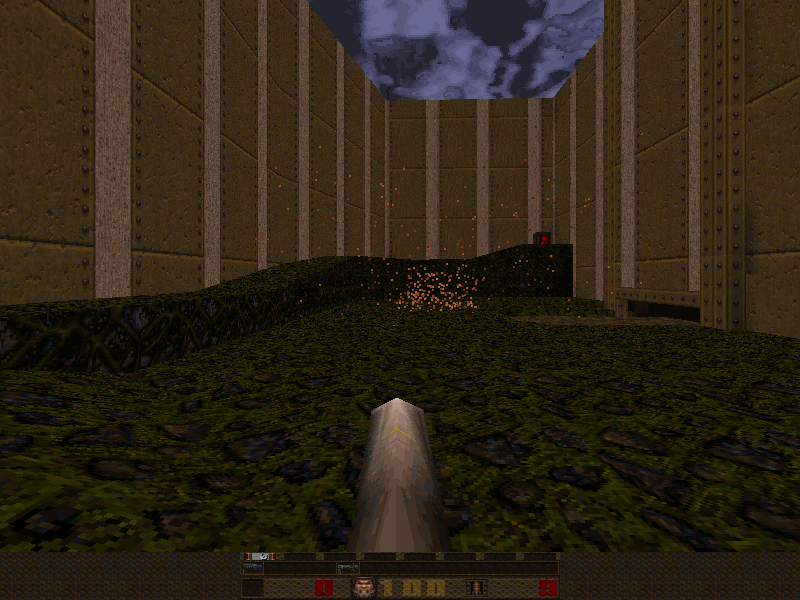
The screenshots (taken directly from QTEST - I can't load those BSPs myself) show a few other changes - billboarded sprites for torches and flames were replaced with 3D models, the teleporter texture was changed and the particle effects for explosions were beefed up with billboarded sprites.
Let There Be Lightmaps
Monday, 30th July 2007
Eventually I gave up on my mod (double shotguns).
Heh, you might like the Killer Quake Pack. 
I've added some primitive parsing and have now loaded the string table, instructions, functions and definitions from progs.dat but can't do a lot with them until I work out what the instructions are. Quake offers some predefined functions as well (quite a lot of them) so that'll require quite a lot of porting.
I seem to recall that the original Quake used "Truebright" colours (Which were either the first or last 16 colours in the palette), and these colours weren't affected by lighting. How the rendering was done, I've no idea.
I haven't looked at the data structures so could be making this up entirely: Quake does lighting using a colour map (a 2D structure with colour on one axis and brightness on the other). I'm assuming, therefore, that for the fullbright colours they map to the same colour for all brightnesses, rather than fade to black.
How could you simulate that? I guess that the quickest and dirtiest method would be to load each texture twice, once with the standard palette and once with the palette adjusted for the darkest brightness and use that as a luma texture. I believe Scet did some interesting and clever things with pixel shaders for DOOM, but that would end up playing merry Hell with 24-bit truecolour external textures.
Aye, it's fun.
I think I've cracked those blasted lightmaps.
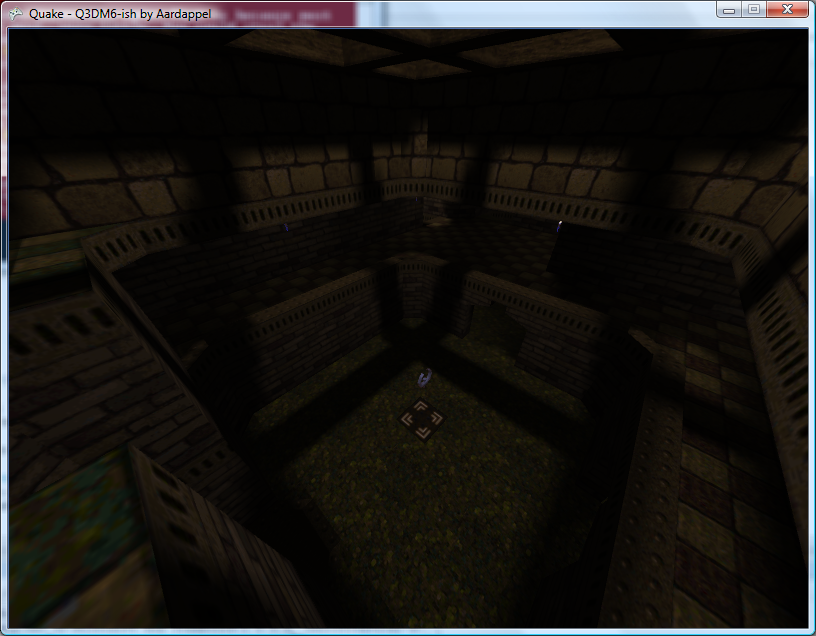
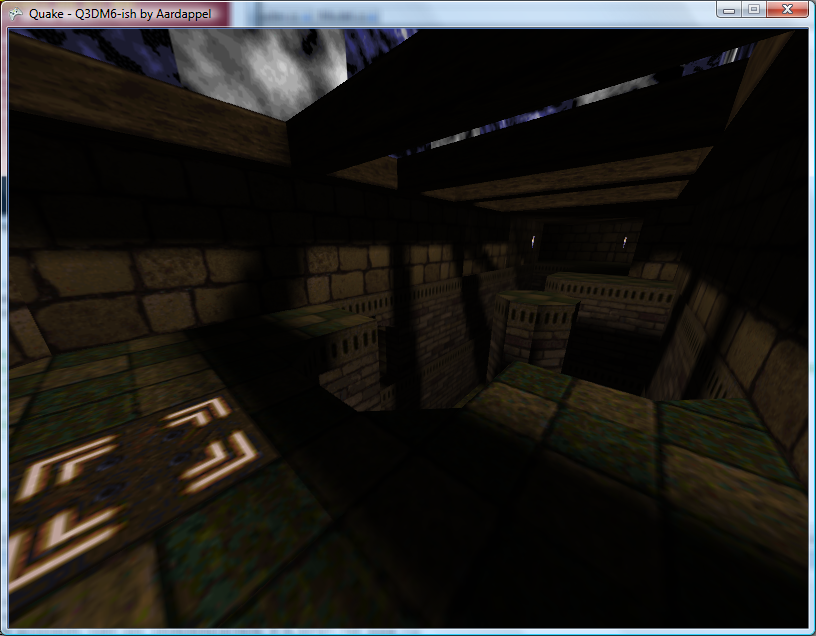
The lightmaps are small greyscale textures applied to faces to provide high-quality lighting effects with a very small performance overhead. Most of the visible faces have a lightmap.
They are stored in the BSP file. Extracting them has been a little awkward, not helped by a very stupid mistake I made.
Each face has a pointer to its lightmap. To get a meaningful texture out of the BSP we also need to know its width and height, which are based on the bounds of the face's vertices.
However, a lightmap is a 2D texture, and a face occupies three dimensional space. We need to scrap an axis!
Each face is associated with a plane. Each plane has a value which indicates which axis it closest lies orthogonal to. I could use this property to pick the component to discard!
This didn't work too well. Most of the textures were scrambled, and most of them were the same width. This should have rung warning bells, but I ignored this and moved on to other things. The problem was that each face (made up of edges) specifies which of the level's global list of edges comes first, and how many edges it uses (edges are stored consecutively).
// My code looked a bit like this:
for (int i = 0; i < Face.EdgeCount; ++i) {
    Edge = level.Edges[i];
    //
}

// It should have looked like this:
for (int i = 0; i < Face.EdgeCount; ++i) {
    Edge = level.Edges[i + Face.FirstEdge];
    //
}
With that all in position, sane lightmap textures appear as if by magic!
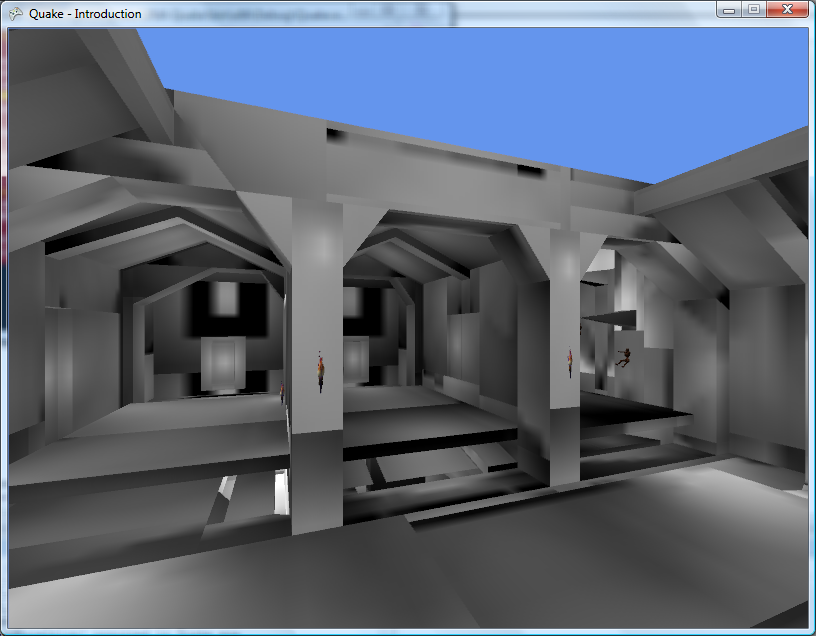
The textures aren't really orientated very well. Some are mirrored, some are rotated - and the textures of some are still clearly the wrong width and height. This 3D-to-2D conversion isn't working very well.
Each face references some texture information, including two vectors denoting the horizontal and vertical axes for aligning the texture. This information can surely also be used to align the lightmaps correctly (where 2D.X = Vector2.Dot(3D, Horizontal), 2D.Y = Vector2.Dot(3D, Vertical))?
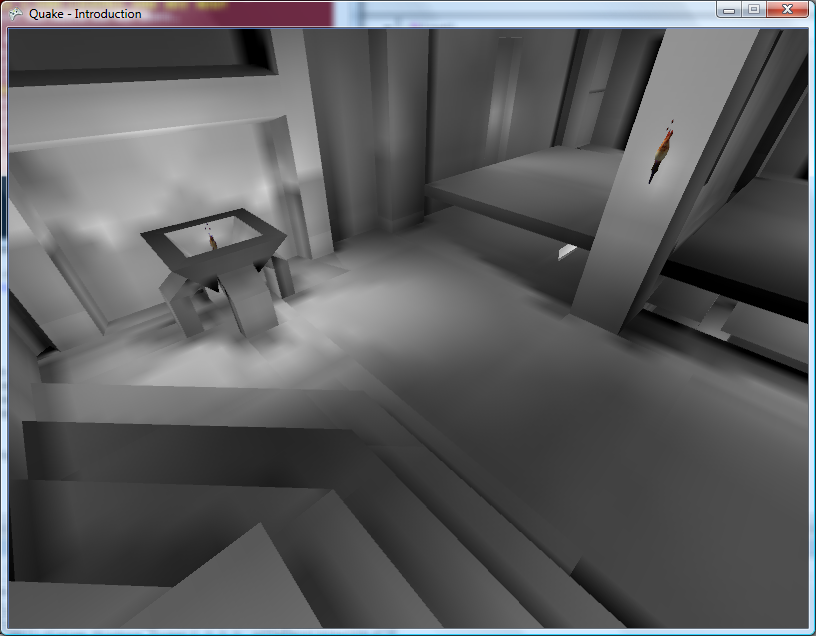
I now draw these textures after the main textures and before the luma textures.
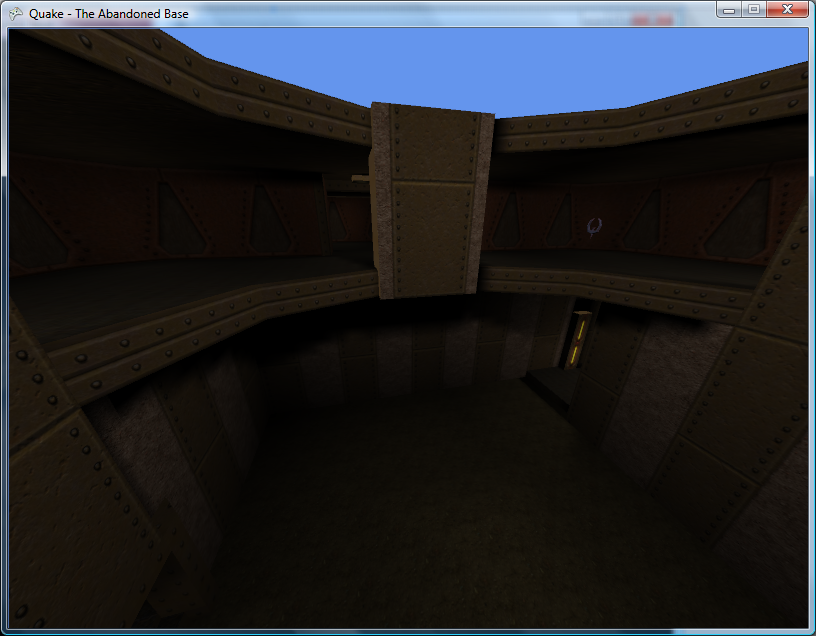
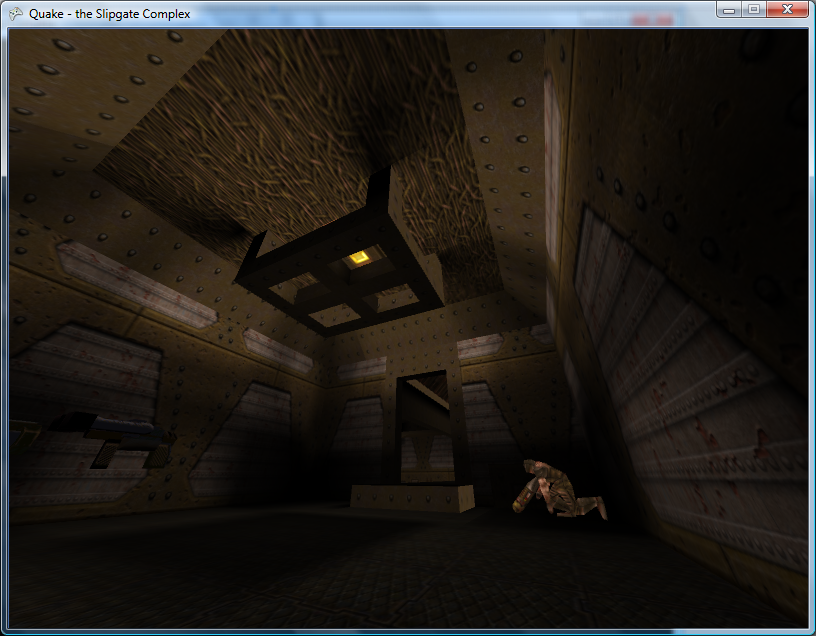
Problem: There are typically > 4000 lightmap textures. Rendering all of the lightmaps drops the > 200FPS framerate down to about 35FPS. This isn't great!
Coupling this problem with the other problem that drawing non-world BSP objects (such as ammo crates) isn't very practical at the moment gives me a good excuse to write a new renderer.
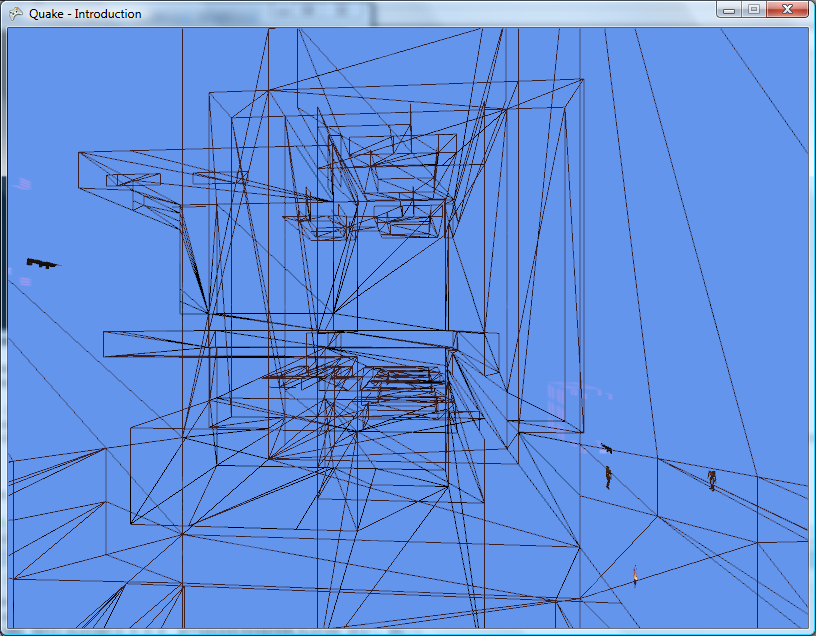
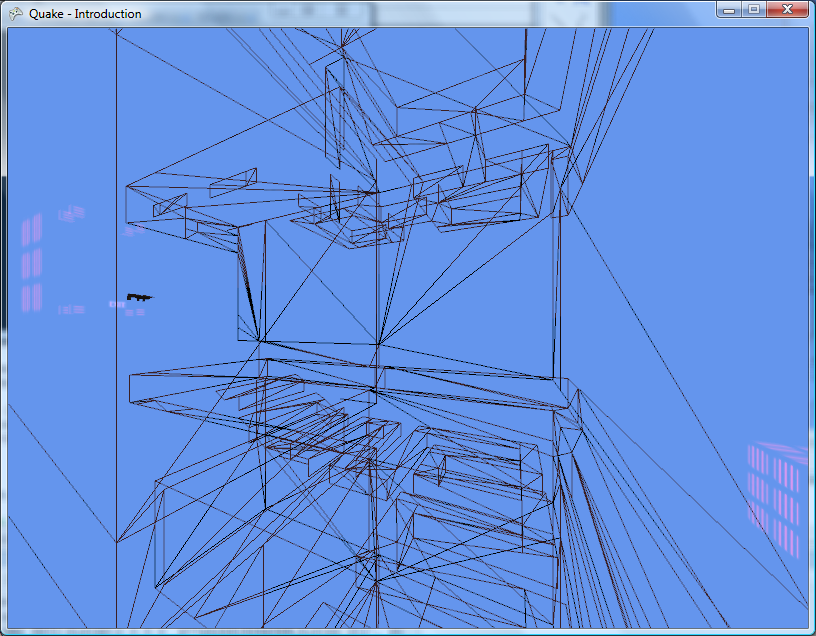
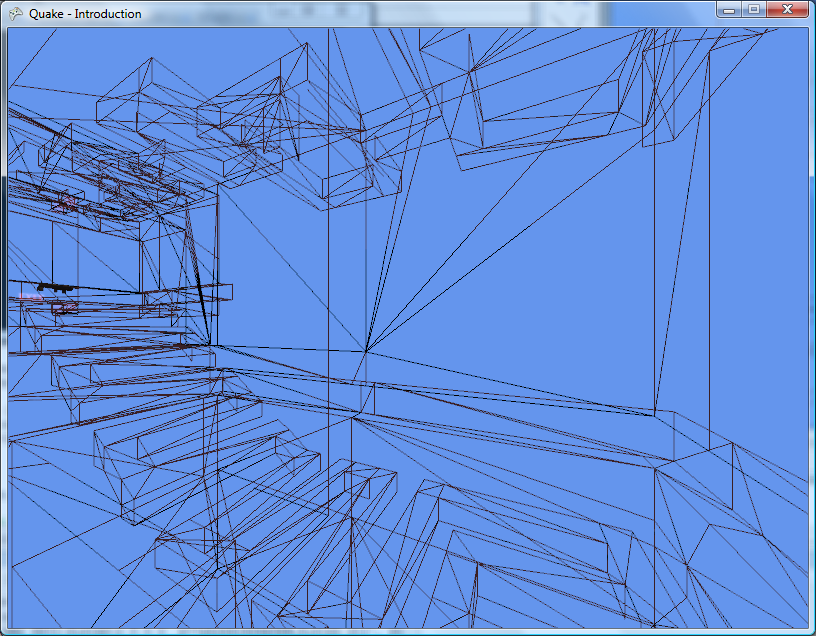
Quake uses a BSP tree to speed up rendering. Each leaf has a compressed visibility list attached to it, indicating which other leaves are visible from that one. Each leaf also contains information about which faces are inside it, and so by working out which leaf the camera is in you can easily get a list of which faces are available.
/// <summary>Gets the leaf that contains a particular position.</summary>
/// <param name="position">The position to find a leaf for.</param>
/// <returns>The containing leaf.</returns>
public Node.Leaf GetLeafFromPosition(Vector3 position) {
	// Start from the model's root node:
	Node SearchCamera = this.RootNode;
	for (; ; ) {
		// Are we in front of or behind the partition plane?
		if (Vector3.Dot(SearchCamera.Partition.Normal, position) > SearchCamera.Partition.D) {
			// We're in front of the partition plane.
			if (SearchCamera.FrontLeaf != null) {
				return SearchCamera.FrontLeaf;
			} else {
				SearchCamera = SearchCamera.FrontNode;
			}
		} else {
			// We're behind the partition plane.
			if (SearchCamera.BackLeaf != null) {
				return SearchCamera.BackLeaf;
			} else {
				SearchCamera = SearchCamera.BackNode;
			}
		}
	}
}
The following three screenshots show a wireframe view of going around a sharp corner using the visibility list information from the level's BSP file.
Another fix in the new renderer is the correction of faces that don't have a lightmap texture. Some faces - such as those which are completely dark, or the faces used for the sky texture - don't have such information, and are currently rendered at full brightness.
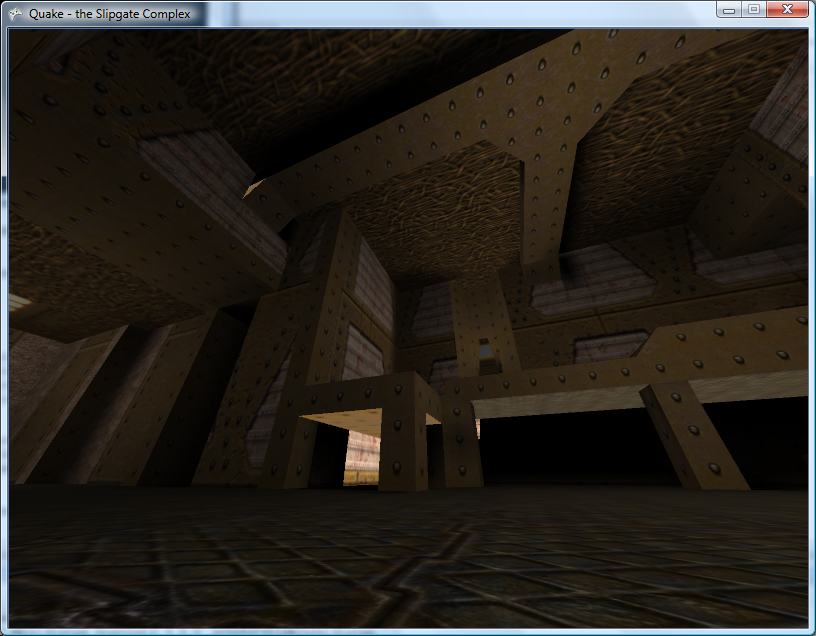
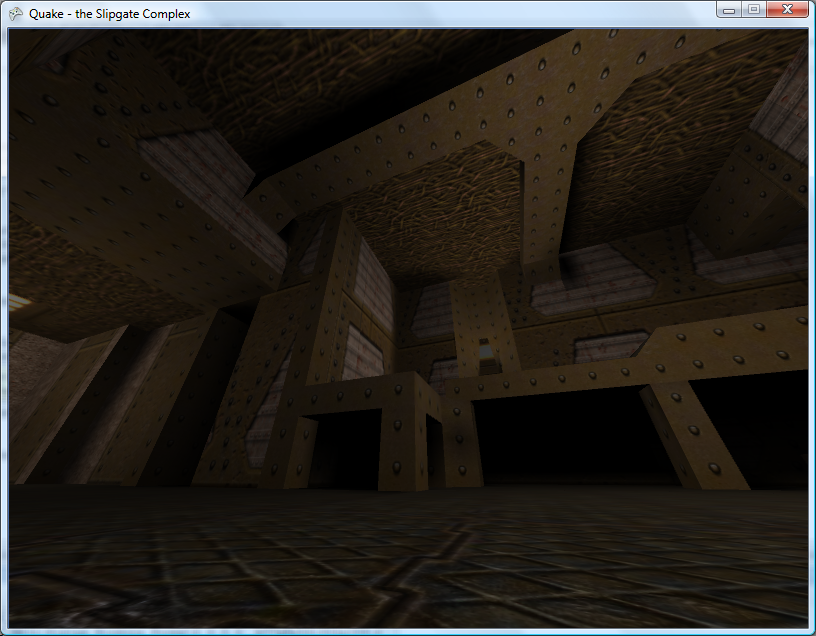
Before and after the fix
If the renderer encounters a lightmap-less face, it enables lighting, sets the ambient light to the face's brightness level, draws the face, then disables lighting again. As you can see from the screenshots this looks a lot better.
The new renderer not only renders the levels using the BSP tree - it also breaks them down into individual models. A level file contains multiple models. The first model is the main level architecture. Other models form parts of the level that can be moved.
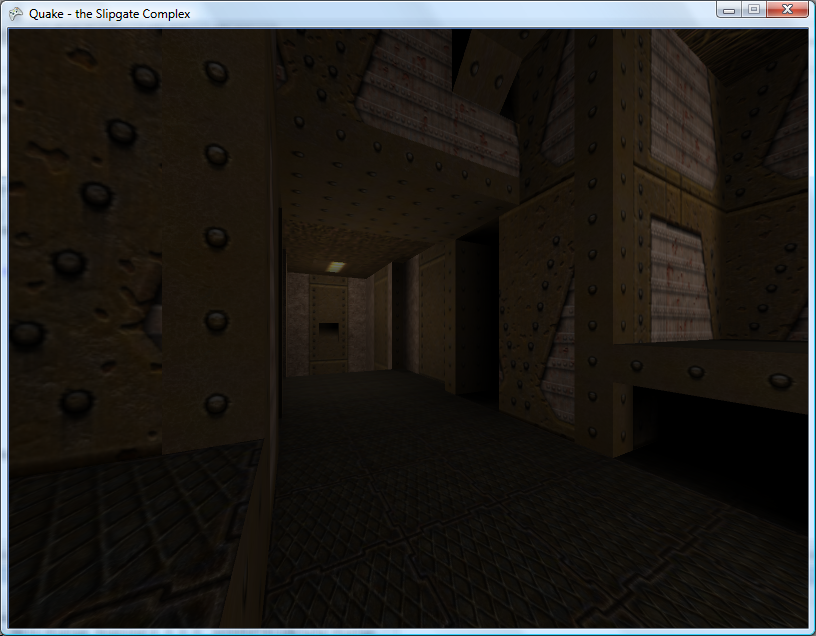
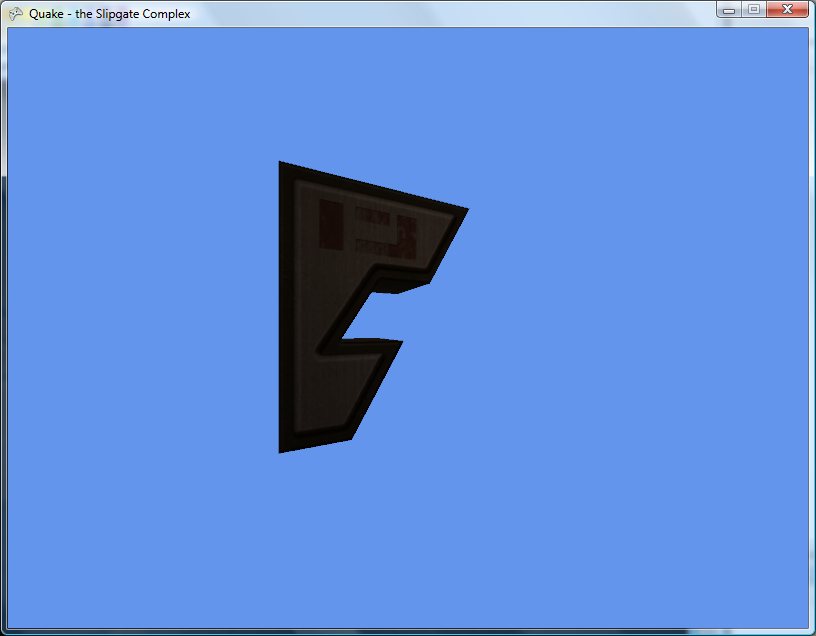
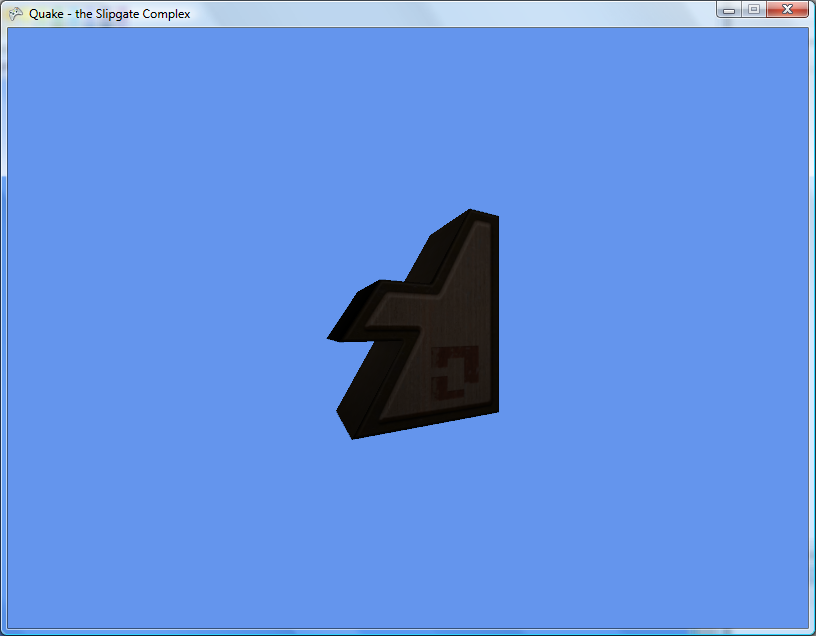
Models 0, 1 and 2 of The Slipgate Complex
Having multiple BSP renderer objects means that I can now render the ammo boxes and health packs.
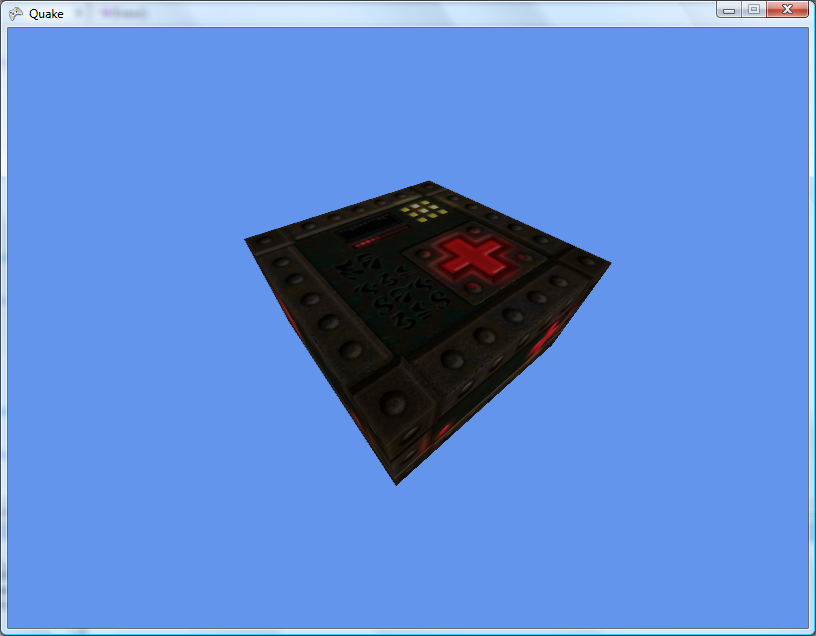
maps/b_bh25.bsp
I'm not sure what advantage there is to using BSP models instead of Alias models for these items.
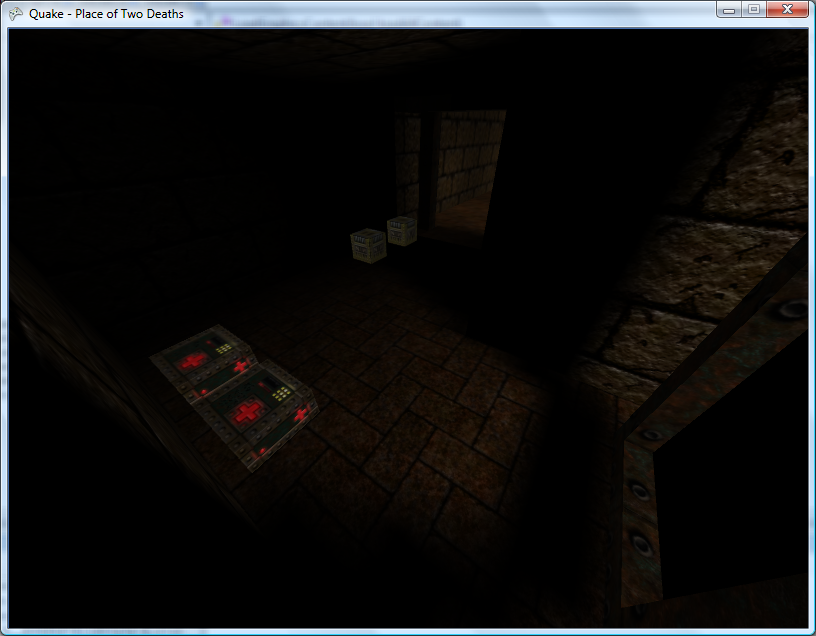
Place of Two Deaths has a Place of Two Medikits
High-Resolution/Luma Textures and Monsters
Thursday, 26th July 2007
Yup, I've done soem QuakeC modding before. The progs.dat is basically all the game code, and quake.exe is all the engine code. if you can load progs.dat properly, you should be able to get behaviour exactly like the original Quake.
Progs.dat is responsible for all monster types AI, and I think you're right about triggers and bridges and stuff.
Ah, makes sense! According to the Unofficial Quake Specs it's p-code, which at least makes parsing easier. Working out which opcodes do what will (I assume) require a perusal of the Quake/QuakeC compiler source.
One quick and dirty way to (possibly) improve Quake's elderly graphics is to use a modern texture pack, which provides high-resolution reinterpretations of Quake's own offerings.
Personally, I'm not too keen on these packs - high-resolution textures on low-poly structures emphasises their sharp edges, and texture alignment issues - Quake's textures are aligned pretty badly in places - are made even more obvious. In the same vein, low-resolution textures look very bad to me when magnified using a smoothing filter - I'd much rather see chunky pixels.
Anyway, adding support for them is very simple. When loading textures from the BSP, I simply check to see if a file textures/texturename.tga is available, and if so load that instead.
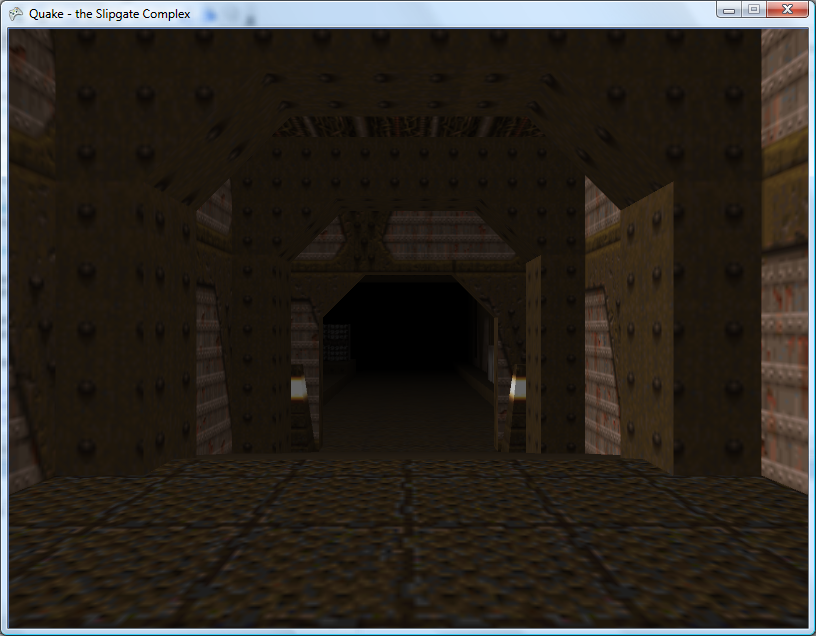
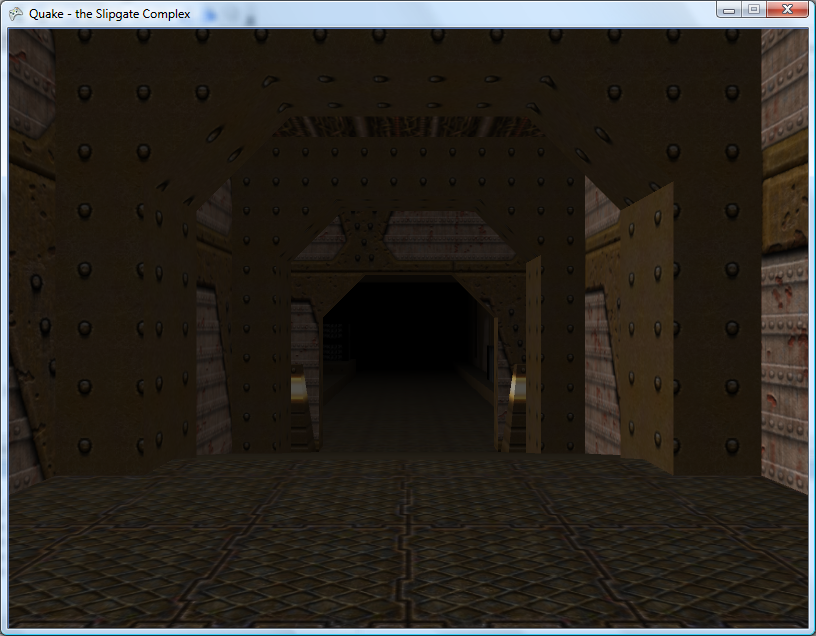
The Slipgate Complex with the original and high-resolution textures.
One advantage of these high resolution texture packs are their luma variations. These are available for certain textures that need to 'glow', such as lights, computer displays or runes. These are mostly black textures with the only the part that lights up drawn.
I draw the world geometry twice. The first time I draw it normally. The second time I disable lighting and fog, enable alpha blending, use an additive blend function and the luma textures instead of the regular textures.
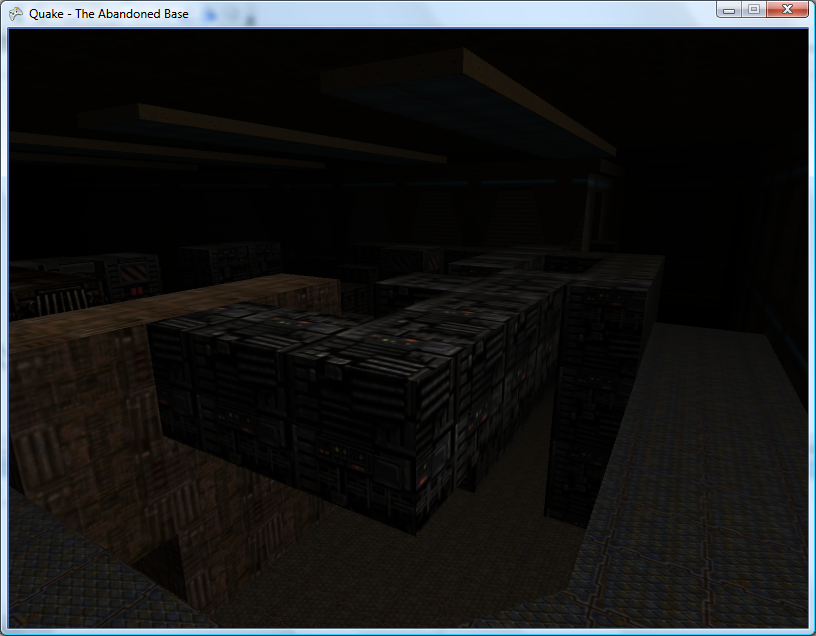
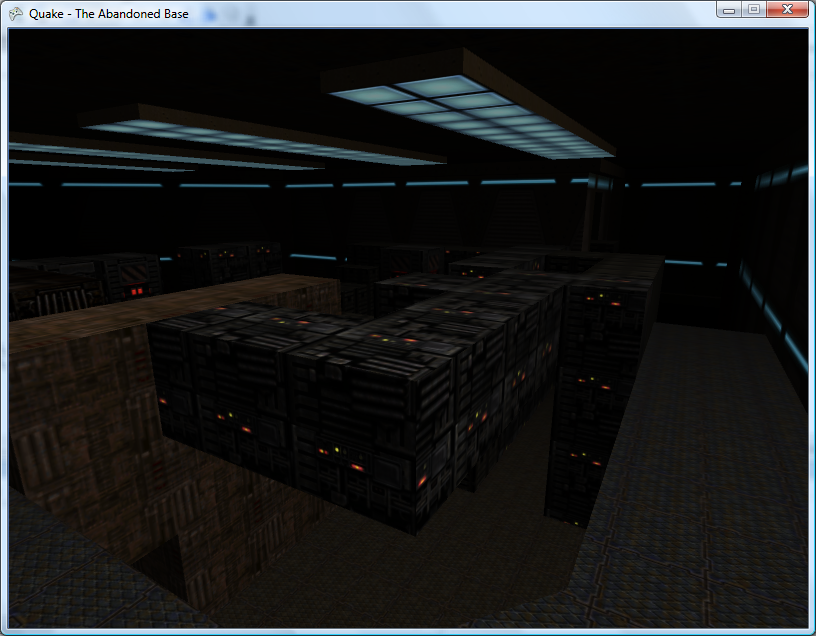
The Abandoned Base before and after the addition of luma textures.
Quake's maps have limited support for animated textures. If the texture is named +0xyz (where xyz is the descriptive name of the texture) then chances there's a +1xyz, +2xyz (and so on) texture to go with it. Once a level's textures have been loaded, I go through looking for any names starting with +0. From this I can search for the indices of its other frames.
Texture2D OldFirstWall = this.WallTextures[ATD.TextureIds[0]];
Texture2D OldFirstLuma = this.LumaTextures[ATD.TextureIds[0]];
for (int i = 0; i < ATD.TextureIds.Length - 1; ++i) {
	this.WallTextures[ATD.TextureIds[i]] = this.WallTextures[ATD.TextureIds[i + 1]];
	this.LumaTextures[ATD.TextureIds[i]] = this.LumaTextures[ATD.TextureIds[i + 1]];
}
this.WallTextures[ATD.TextureIds[ATD.TextureIds.Length - 1]] = OldFirstWall;
this.LumaTextures[ATD.TextureIds[ATD.TextureIds.Length - 1]] = OldFirstLuma;
Once I've collected up the indices of each animated texture's frames, I simply rotate them using the code above.
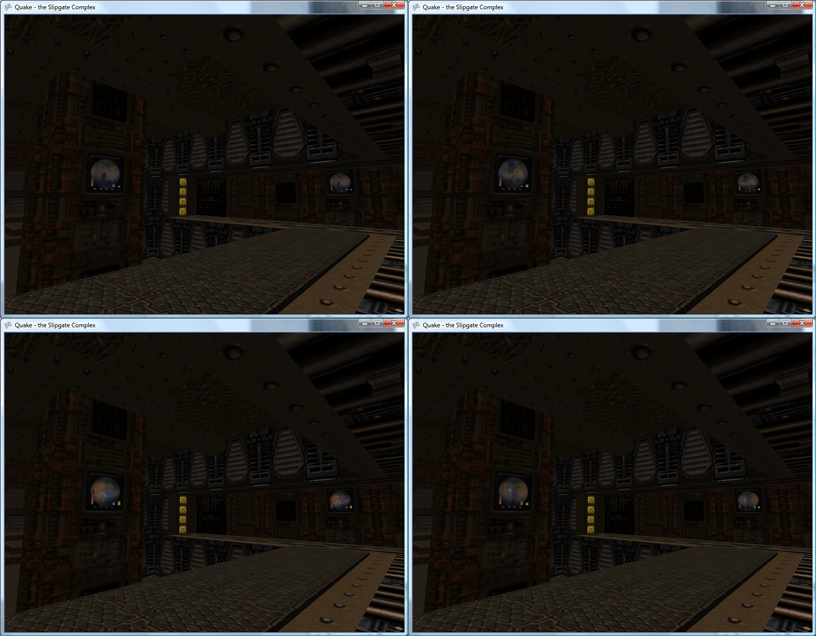
The levels do look rather lonely without the various monsters patrolling them. This can be remedied by parsing the entities lump. In the true brute-force tradition, the models are loaded once (at startup), but to render them I just loop through the entire entities block (which contains many irrelevant entities) hunting for types referencing a model - if so, I pull out their angle and offset and render the model at the specified position.
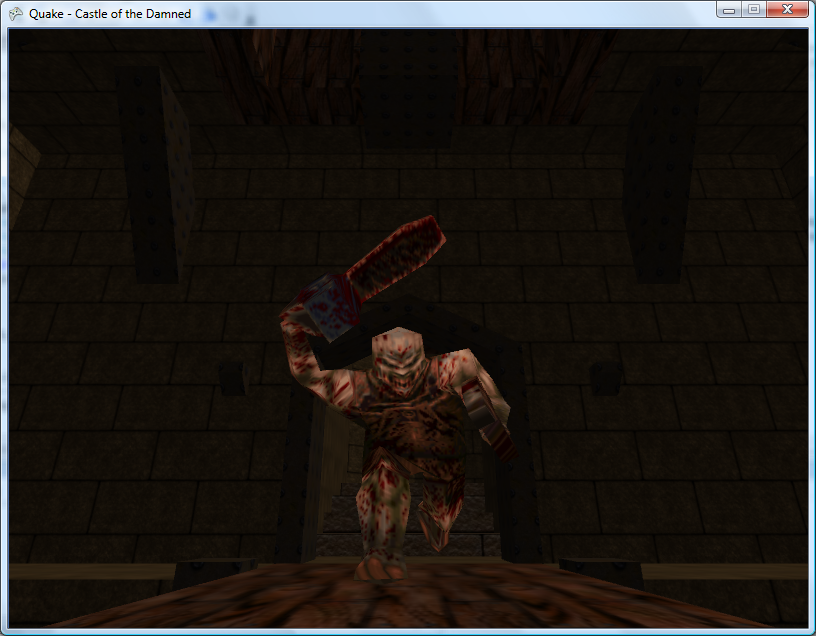
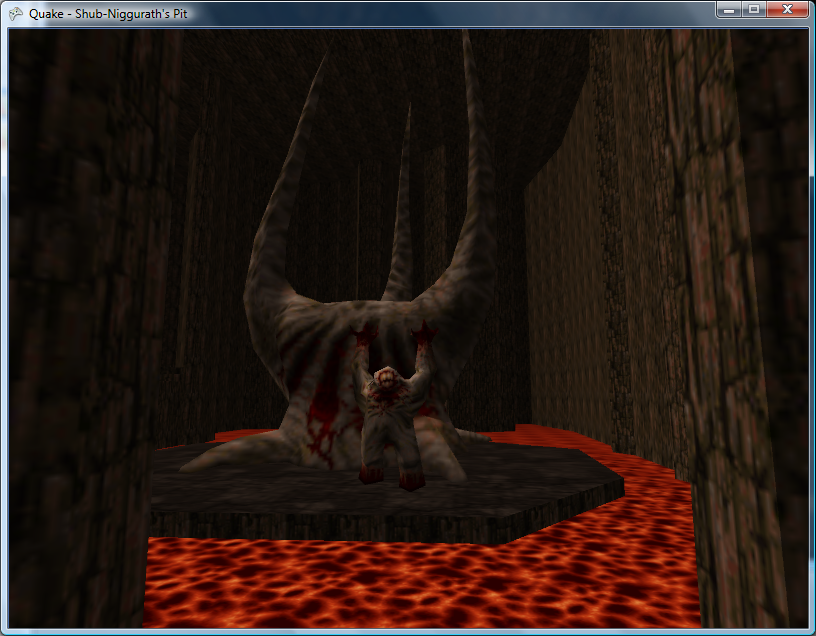
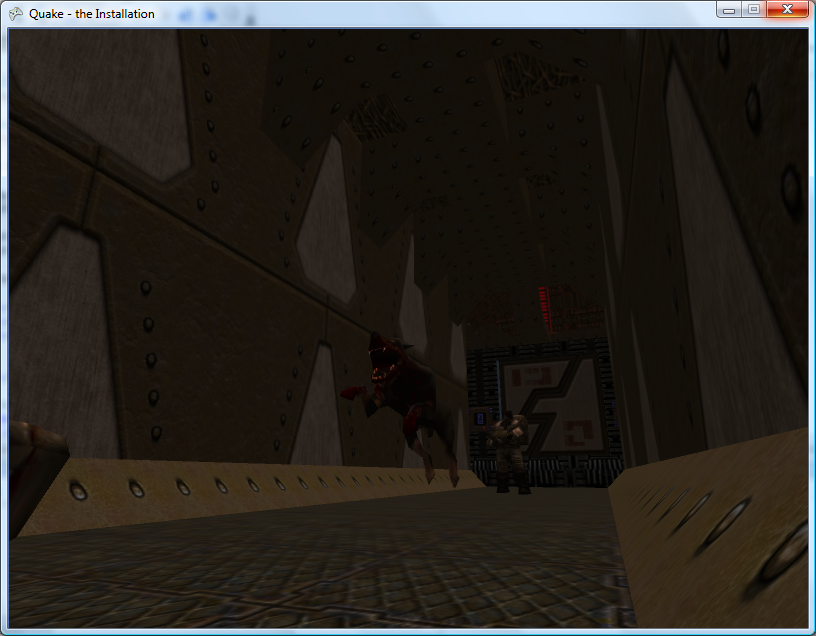
Most of the items spread out throughout the level - powerups, weapons and armour - are represented by Alias models, so adding support for those is easy enough:
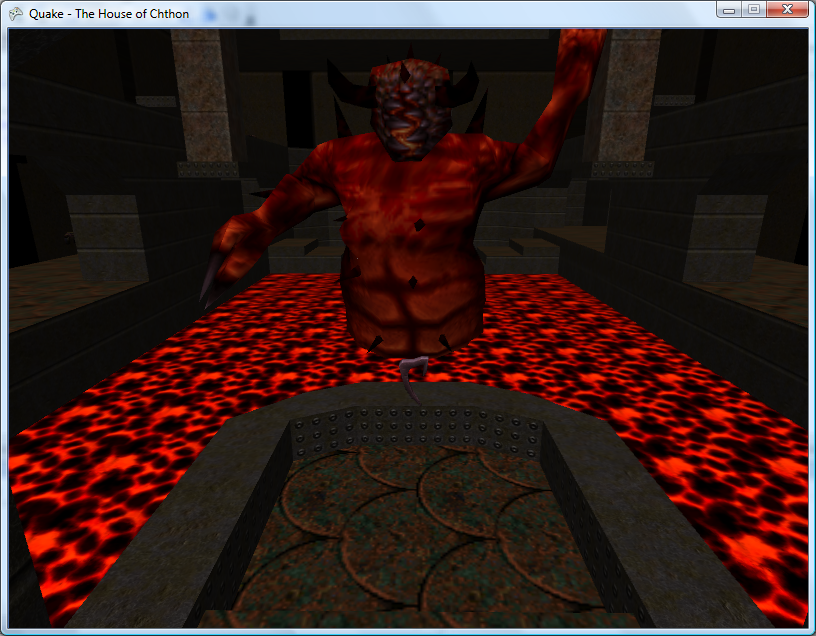
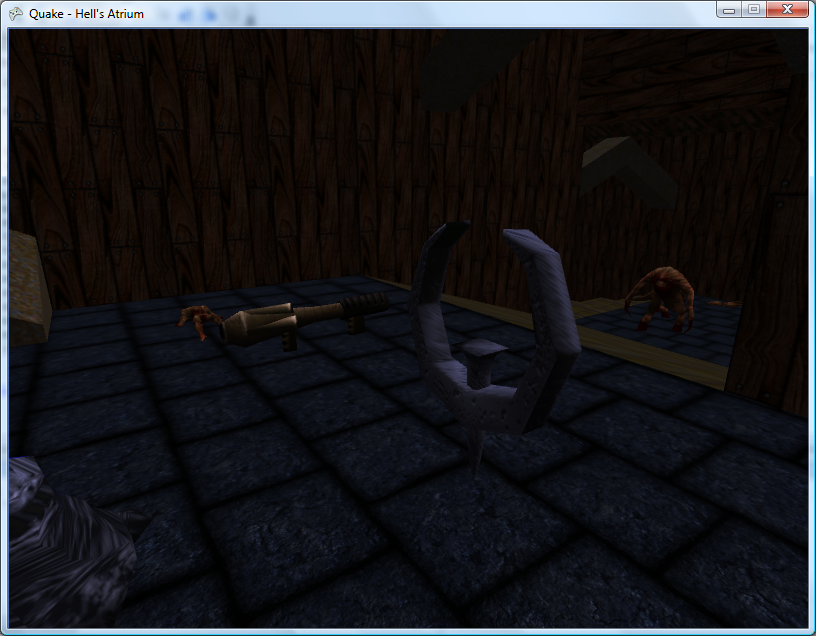
Some of the other items - such as ammo crates - are represented by BSP models, so are currently not supported.
Models
Wednesday, 25th July 2007
Do you intend to parse the progs.dat file (I think that's what it was called) - the QuakeC compiled code? I've no idea what's actually involved in that, however...
I'm not sure either (I haven't looked into it). As the source code for Quake and the QuakeC compiler have been released I might be able to do something. I have a hunch that said code is responsible for level events (switches, bridges, lifts, doors and so on) so it would seem pretty important.
You might want to check the version of your BSP files versus the one used in the Unofficial Quake Specs.
...
Also here's some API independent code for loading Quake MDL models.
So far I've had one minor problem that was resolved with a hex editor (something simple like a short becoming an int or vice-versa). I'll take a look at your MDL code - thank you!
I've made progress with the Alias model loader and written a ModelRenderer class to go with it.
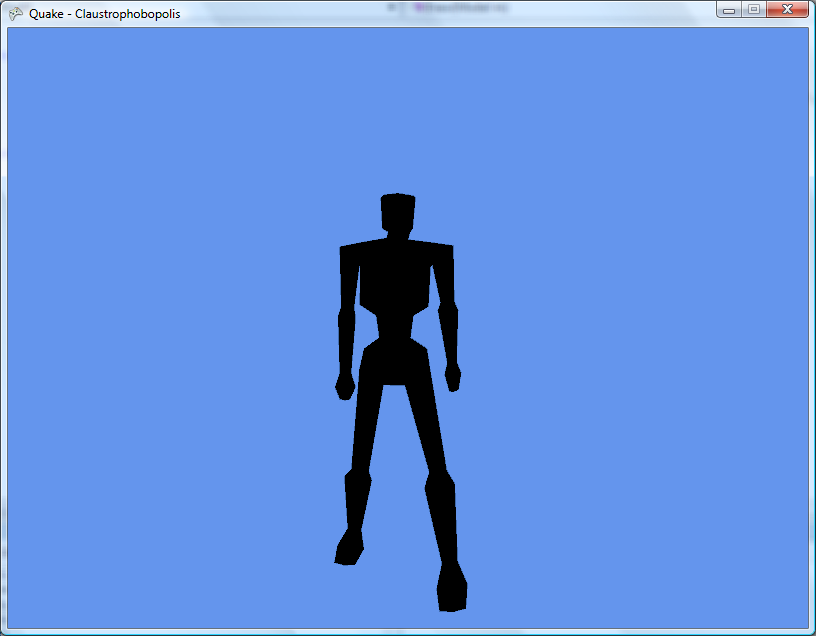
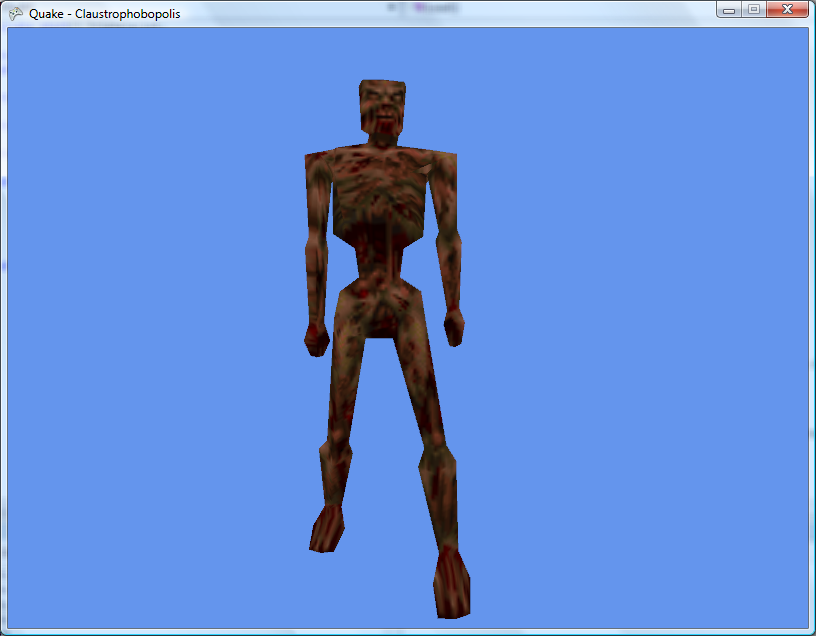
zombie.mdl before and after texturing support.
Animation isn't handled very well just yet - the frames aren't grouped by action (such as the 'attack' animation, 'walk' animation and so on) and the Draw call just takes a frame number.
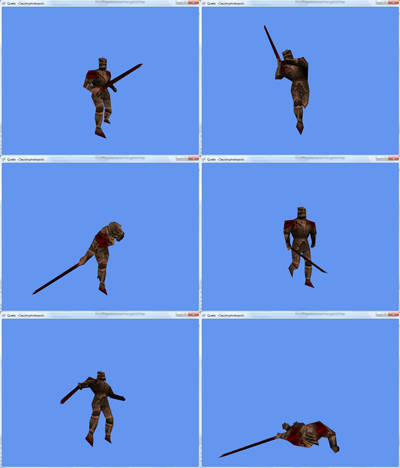
It'll do for the moment as a test.
I'm still having problems with textures not wrapping correctly.
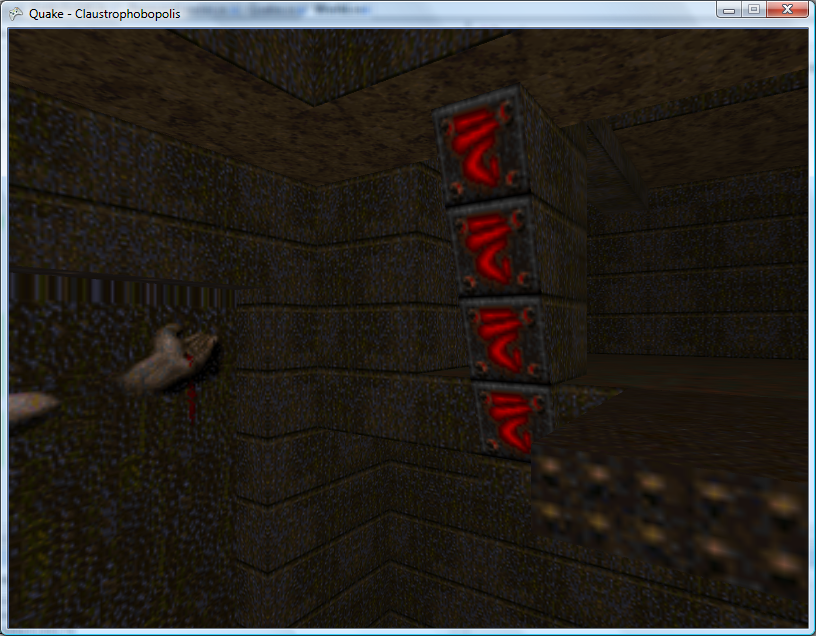
As you can see the texture above the hand is distorted. I was pointed in the direction of a solution via the texture wrapping options, and have added these lines:
graphics.GraphicsDevice.SamplerStates[0].AddressU = TextureAddressMode.Wrap;
graphics.GraphicsDevice.SamplerStates[0].AddressV = TextureAddressMode.Wrap;
This, unfortunately, hasn't helped. Experimentation has shown that this does change something, and by using the TextureAddressMode.Mirror I get the following -
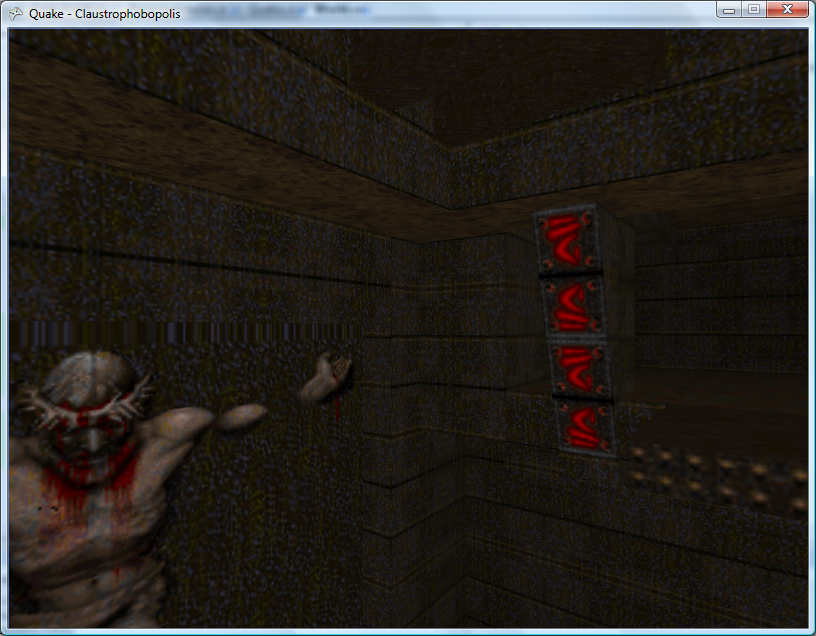
Note the orientation of the red symbols
I still can't get decent looking light maps out of the level - they all have the "diagonal stripes" effect that usually is caused by an erroneous width. I think I'll have to start trawling through Quake's source code.